How to Become a Webflow Developer


Becoming a Webflow developer is an exciting opportunity that allows you to create visually stunning and responsive websites without needing extensive coding knowledge. Webflow is a powerful web development and design platform that combines design, content management, and hosting into one seamless experience. This guide will walk you through the essential steps to becoming a proficient Webflow website developer, covering everything from the basics to advanced features.
The Basics of Webflow Development
Understanding the fundamentals of Webflow is crucial before diving into development. At its core, Webflow is a visual web design tool that enables users to build websites using a drag-and-drop interface. Unlike traditional coding, which requires knowledge of HTML, CSS, and JavaScript, Webflow simplifies the process by allowing you to design visually while automatically generating clean code in the background.
Become a Webflow Expert with Key Features Such as.
Visual Designer: A user-friendly portfolio interface for creating layouts and styling elements.
- CMS (Content Management System): Allows dynamic content creation and management.
- E-commerce Capabilities: Tools for building online stores.
- Responsive Design Tools: Features that ensure your site looks great on all devices.
Gaining fundamental aspects of Webflow, become an expert in Webflow design.
Choose a Proper Learning Path for Webflow
Selecting the right learning path is critical for your success as a webflow developer and webflow project. Start by exploring Webflow University. Webflow offers free tutorials, courses, and guides tailored for beginners. These resources cover everything from basic platform usage to advanced techniques.Consider supplementing your learning with courses from platforms like Udemy or Skillshare, where experienced instructors provide structured lessons on specific aspects of website development. Engaging with community forums on platforms like Reddit or Facebook can also be beneficial; these communities are active and can offer support, answer questions, and share experiences. So, joining the Webflow community is the best way to become a Webflow expert in 2023.
Master the Design Tools in Webflow
Once you have grasped the fundamentals, it’s time to dive deeper into mastering Webflow’s design tools. The Designer interface is where you'll spend most of your time creating layouts and styling elements. Key components to focus on include:
- Grids and Flexbox: Learn how to use these layout techniques to create responsive designs.
- Pre-designed Templates: Explore the library of templates available in Webflow to understand best practices in website design and development skills.
- Practice is essential. Create mock projects or redesign existing websites to hone your skills. Experimenting with different layouts and styles will help you understand how each element interacts within the platform.
Understanding Interactions and Animations in Webflow
Webflow allows you to create engaging user experiences through interactions and animations. Understanding how to implement these features can significantly enhance your designs.
Start by learning how to create:
- Hover Effects: Simple animations that occur when users hover over elements.
- Scroll-triggered Animations: Effects that activate as users scroll down the page.
- Page Load Effects: Animations that occur when a page loads.
These dynamic elements not only make your web pages visually appealing but also improve user engagement by guiding visitors through your content interactively.
Building and Launching a Webflow Site:
After mastering the design tools and interactions, it’s time to apply your skills by building your first complete website. Follow these steps:
- Plan Your Site Structure: Determine what pages you need (e.g., Home, About, Services) and how users will navigate through them.
- Create pages using drag-and-drop: Utilize Webflow’s intuitive interface to build each page while ensuring responsiveness across devices.
- Test Thoroughly Before Launching: Check for broken links, ensure all animations work smoothly, and verify that content displays correctly on mobile devices.
Once satisfied with your site’s performance and appearance, connect your domain and publish directly from Webflow.
Get a Certification for Webflow
To further establish your credibility as a Webflow developer, consider obtaining certification from Webflow University. This certification validates your expertise in using the platform effectively and enhances your resume when applying for jobs or freelance opportunities.
Certification not only demonstrates your skills but also shows potential clients or employers that you are committed to professional development in web design and development. Learn the basics and become a skilled webflow developer.
Conclusion
Becoming a Webflow designer is an enriching journey that allows you to blend creativity with technical skills while building beautiful websites. By mastering the platform’s tools, understanding user interactions, and gaining hands-on experience through projects, you'll be well-equipped to create impressive digital experiences.
As you progress in your journey, remember that continuous learning is vital. Stay updated on new features released by Webflow and also engage with the community for tips and best practices to increase the knowledge of Webflow users. With dedication and practice, you'll establish yourself as a skilled Webflow developer ready to tackle exciting projects in today’s competitive digital landscape.
Related Articles
Looking to take your business to the next level or migrate your website to a more flexible platform? Webflow is a powerful solution, but only if you have the right Webflow development partner.
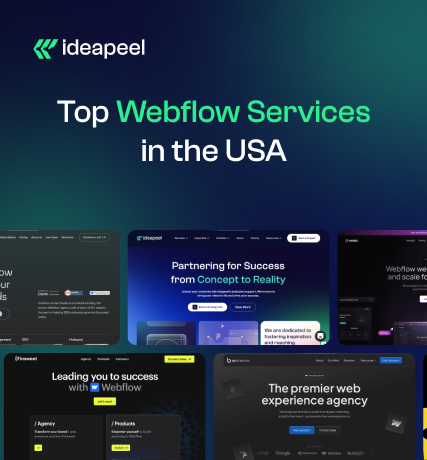
With so many agencies, finding the perfect fit for your needs and budget can be overwhelming. That's why we've created a list of the 7 best Webflow development services in the USA, featuring their strengths, key benefits, case studies, and client reviews.
Plus, you'll get expert tips to help you make the right choice for your business.
Start exploring now and find the Webflow website development company to bring your vision to life!
List of Top-Rated Webflow Development Services in the USA
1. ideapeel

Location: Atlanta, GA
Key Services: Webflow website design and development, UI/UX design, SaaS, Branding, SEO.
ideapeel is a leading agency specializing in full-cycle Webflow development services, helping 166+ businesses achieve measurable ROI from month one.
Our team of Webflow experts delivers custom, high-performing websites using agile methodologies and a robust development process.
Whether you're a startup or an enterprise leader, we tailor our approach to your industry challenges, business needs, and budget.
But we don't just build websites—we enhance your digital presence. Our comprehensive Webflow service packages include UI/UX design, branding, Webflow migration, and SEO to ensure your business stands out.
- No hidden costs.
- No missed deadlines.
- No frustrating bugs.
Just seamless execution and results-driven solutions.
Get a personalized quote today and leave your competitors behind.
2. Amply

Webflow Development Services
Location: Lehi, Utah
Key services: B2B website design, Webflow web development, and branding.
Amply is a B2B Webflow development agency specializing in building scalable Webflow websites that are optimized, engaging, and converted.
They are a B2B marketing expert team, transforming outdated website platforms into influential Webflow sites within SEO, copywriting and branding strategy.
Amply has a unique approach to crafting high-converting websites that resonate with ICP– what other agencies leave.
Amply can be your ultimate partner if you are struggling with your outdated website and want to migrate to Webflow.
They are committed to providing end-to-end Webflow website development services, driving traffic, telling your story, and converting visitors into potential leads.
3. Creative Corner Studio
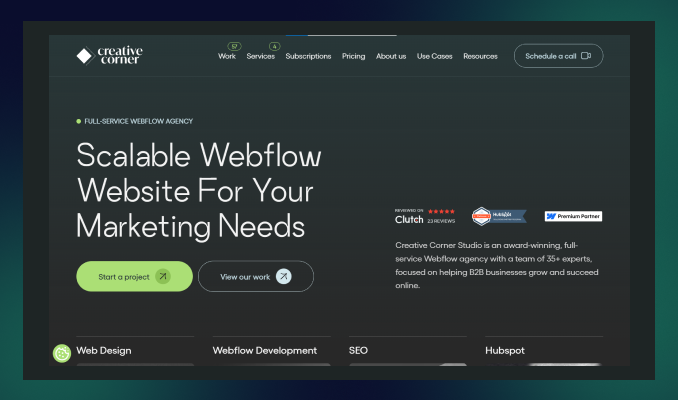
Location: Los Angeles, CA
Key services: UI & UX design strategy, Webflow Development, SEO, Branding.
Creative Corner Studio is a full-service Webflow agency that helps SaaS startups establish B2B businesses and grow their digital presence.
They are a team of 35+ Webflow experts, completing 120+ projects while delivering the most responsive and pixel-perfect websites.
Beyond exceptional Webflow development, Creative Corner Studio excels in branding, SEO, HubSpot integration, and platform redesign—offering all development solutions under one roof.
4. Perpetual
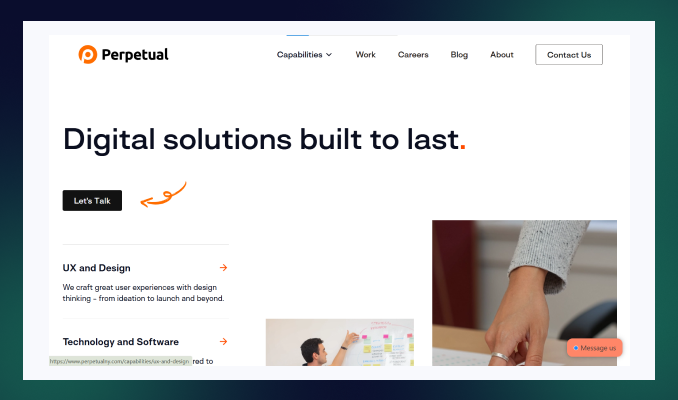
Location: New York, US
Key services: UI & UX development, Webflow Development, Custom Software development, Mobile App Development
Perpetual is well recognized for its innovative Webflow development service within technological solutions for 10 years.
Their unique approach leverages the latest cutting-edge technology to bring a new vision to the client's project.
More than a Webflow no-code development, they serve a fully digital solution through modern UX design strategy, custom software development, AI solutions, business consultation and many more.
Perpetual creates result-driven UI/UX design, branding and customer-facing website design, which forces renowned companies like Colgate, Reuters, and US Bank to select Perpetual from the crowd.
5. Finsweet
Location: New York, US
Key services: Web Apps, Webflow design, branding, SEO, API integration
Finsweet is one of the best Webflow development platforms, developing custom Webflow websites that are organized, scalable, and easy to manage.
They are an award-winning agency for their stunning community support, client-first product design, and custom functionality, where Webflow limits but Finsweet exceeds expectations.
Whether you are in a hurry to build a revenue-generating website without frustrating delays– Finsweet will be your perfect Webflow development partner!
6. Belt Creative
Location: Saint Petersburg, Florida
Key services: Webflow design and Development, SEO, PPC, Migration to Webflow.
Belt Creative is another top choice for developing, designing and optimizing Webflow websites that enhance your web experience to the next level.
Unlike other traditional agencies, Belt Creative provides end-to-end Webflow solutions from strategy consultation to post-launch support.
They have earned numerous awards, including Best Webflow Agency Partner, for their high-converting website, fast delivery, and ready-to-launch website for enterprise business.
7. SVZ

Location: San Francisco, California
Key services: Webflow development, UI/UX design, and branding.
SVZ is an expert Webflow development agency that creates stunning websites for enterprises with personalised brands and web strategies.
Their client-centric approach, profound research on business trends and competitor analysis, transforms a static Webflow site into a skyrocketing tool that will drive growth.
SVZ can be an excellent choice for businesses wanting to scale an enterprise or elevate their digital journey to excellence.
How to Find the Best Webflow Development Services in the USA?
Before narrowing down your choice list, consider some factors. Here are some things you need to look for while searching for a perfect Webflow website builder agency.
1. Expertise in Webflow
Searching for an experienced and dedicated Webflow-certified agency is crucial for a seamless development process.
Check whether they have senior front-end developers, especially Webflow development experts, on the team.
2. Asses their portfolio and case studies
Investigate previous projects and portfolios of Webflow design and development services. Then, note how the agency ensures visually appealing websites that convert and generate revenue.
Do they deliver a fully responsive and fastest-speed website?
3. Evaluate technical expertise
Always look for an agency that has technical expertise for Webflow cms implementation, responsiveness, adding custom code( Javascript, CSS) and third-party integration!
4. Transparent communication and collaboration
Partnering with a Webflow development company that offers transparent communication and real-time feedback is essential.
5. Compare pricing and value
Be cautious of agencies offering low-cost service packages—many come with hidden fees that can surprise you later!
Instead, schedule a meeting with your shortlisted agencies and request a personalized quote. Compare the value each one offers, and choose the best fit for your needs.
Why Choose ideapeel as the Best Webflow Development Agency in the USA?
With so many options available, are you still unsure what Webflow agency fits your needs?
Well, considering Ideapeel as a reliable webflow partner, you won't regret it!
Here are the reasons why choosing us will be a profitable decision for your business:
1. Proven track record of 166+ Webflow website development
As the fastest growing agency, our top-notch service quality and webflow expertise help to build trust with our potential clients.
We help 70+ businesses transform their digital presence into profitable growth with dynamic and custom Webflow development.
2. Niche expertise across 15+ industries
Our industry expertise solution already made changes for converting static websites into an up-to-date industry-leading solution.
Our team has multi-industry experts who track the latest updates, trends, and challenges and ultimately deliver success-driven results.
ideapeel has proven industry expertise in SaaS, real estate, tech, and 12+ more.
3. Certified Webflow expert & front end developers
At ideapeel, we have a senior Webflow developer and designer with enough knowledge and expertise to bring your vision to life and create a strong brand identity.
Our front-end developers ensure top-notch user experience and user interface with advanced JavaScript skills. We implement the best Webflow interactions, animation, and agile design process to create a smooth user experience.
4. Unlimited Webflow development and revision
We are fully committed to giving unlimited revisions until you are satisfied. Subscribing to any package allows you to make development requests and revisions.
5. Transparent communication and real-time feedback loop
We prioritize a seamless development process within a real-time feedback loop. Our full-time team members are very responsive and dedicated.
Meanwhile, we utilize industry-leading project management tools like Asana and Jira to streamline workflow. Thus, you'll have an in-house Webflow team without any unclear projects or frustrated delays!
Our Premium Webflow Development Services:
Webflow Custom Websites
Build a stunning, fully customized, responsive, and highly scalable website tailored to your business goals.
Webflow CMS development
Effortlessly manage and scale your content with custom Webflow CMS.
Webflow eCommerce solutions
Want to elevate your online e-commerce stores? We create fully functional online shops, integrating e-commerce tools that increase sales.
Webflow responsive design
Pixel-perfect design that ensures optimal and looks great on all device screens, including mobile devices, PC and tablets.
Webflow SEO optimization
Improve your online visibility with the best SEO practices to optimize your website for search engines.
Ready to elevate your Webflow journey with a dream website?
Hire ideapeel and experience the profitable growth you desire for.
FAQS
What is Webflow development?
Webflow development is the overall website development process without needing a single code. Webflow is a no-code building platform that helps create fully responsive, optimized and visually appealing websites easily.
Is Webflow better than WordPress?
Webflow can be better than WordPress in terms of faster loading speed, responsive design, hosting plans, customizable templates and better SEO performance. If you struggle with WordPress's slower loading speed, frustrating plugin updates and massive expenses, moving to Webflow will be a better choice.
Do big companies use Webflow?
Many big companies like Dropbox, the New York Times, Vice, Rakuten, and Webflow. Indeed, Webflow has become popular for its flexibility, customizable design and advanced SEO tactics.
In today's digital world, a seamless user experience isn't just a luxury—it's a necessity. Even a single UI/UX design flaw can lead to high bounce rates and lost revenue. Choosing expert UI/UX design services & consulting is crucial.
But how do you know which service fits your business best? Researching expertise, experience, tech stack, and design processes can be overwhelming.
Don't worry—we've done the hard work for you! Here's a curated list of the top 8 UI/UX design services in the USA to help you make the right choice. Let's dive in.
List of Top 8 UI/UX Design Services & Consulting in the USA
1. ideapeel
Location: Atlanta, Georgia
Key services: UI/UX design, custom software development, web design, web development, SEO, and branding.
ideapeel is a renowned company for UI/UX design services, specializing in personalized, results-driven UI/UX design for high-performance mobile and web application interfaces.
Our approach focuses on high-fidelity prototyping, user testing, and user-friendly wireframing, ensuring seamless digital experiences.
Leveraging data-driven insights and the latest modern technologies, we consistently exceed client expectations with up-to-date design and consulting services.
As a fast-growing agency, we've launched 70+ products, driving impactful ROI from month one.
Our agency is a one-stop solution for startups, enterprises, and small to midsize businesses, offering end-to-end UI/UX design, branding, and website solutions—all under one roof.
What truly sets ideapeel apart? Before partnering with us, our experts schedule a consultation to provide:
- Simplified strategic approach
- Transparent cost breakdown
- A clear roadmap for success
See our recent project.
Get rid of confusion and hidden costs!
Book a free 15-minute consultation and get a clear, impactful UI/UX design solution today.
2. Frog design
Location: San Francisco, California
Key services: Brand strategy, Product Design, Service Design, and customer experience design
Frog is the ultimate partner for remarkable user experience design, combined with tech, data, and AI technologies to connect planets and people.
Within the latest customer-driven approach to emerging UX technologies, Frog delivers an intuitive design that goes beyond customer expectations.
Their technical expertise and end-to-end design services are the most multinational companies, and Unilever and IKEA partner with them.
3. IDEO
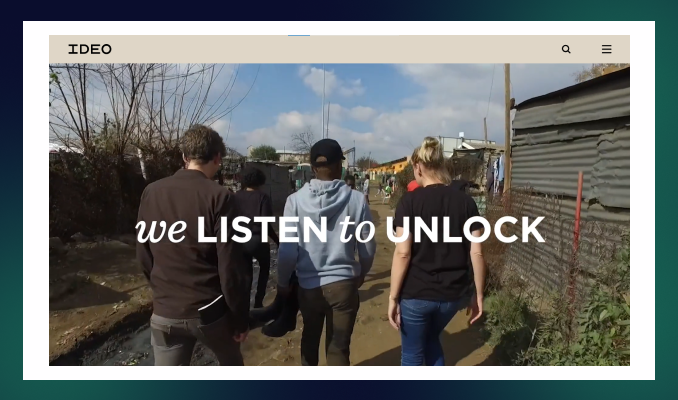
Location: San Francisco, California
Key services: UI/UX design, Product Design, Branding, UX consulting
IDEO is a leading UI UX design service because of its innovative ideas and human-centred design that build a long-lasting digital product and overall user experience.
They help most reputable brands like Acer, Ford, and H&M to get a comprehensive digital experience with a complete branding approach and business consultation.
IDEO has served many industries with its exceptional future strategy, quick prototyping, and restless usability testing, accelerating transformation into new heights.
At IDEO, you'll get unique strategic marketing solutions, user experience design, and web and app development services for a long-term business.
4. Cleveroad
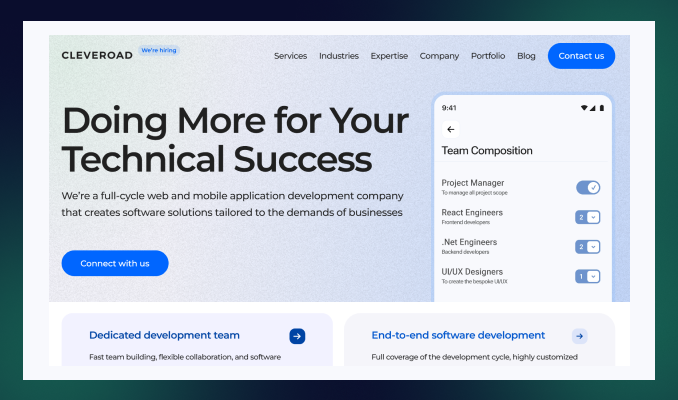
Location: Delaware, USA
Key services: Product design, branding, and information architecture.
Cleveroad is a UI UX front-end development company designing exceptional mobile and web products.
Their unique motto is to design digital products while ensuring responsiveness across all devices.
Another thing is that Cleveroad provides a time-tested user experience, user interface design, and post-launch support—which is what many design services lack!
5. Think Company
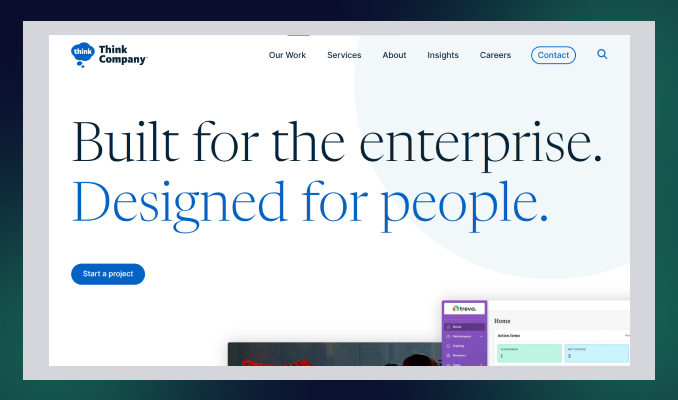
Location: Philadelphia, PA
Key services: UI and UX design, technology strategy and consulting, and accessibility and inclusion consulting.
Think Company is an ultimate UI UX design consulting service that provides world-class digital experiences for enterprise businesses.
Combining strategy, creation, and growth: Think Company excels in user research, redesigning existing final products, and creating digital concepts.
Even for complex industries such as finance, pharmaceuticals, telecommunications, and healthcare, their exceptional expertise gives them a new edge over competitors.
6. Intellectsoft

Location: New York, USA
Key services: UI/UX design and consulting, Mobile App development, Custom software development,
Intellectsoft is the best choice for UI & UX design services, specializing in potential software development solutions in today's AI technologies.
From simple mobile apps to cloud-based enterprise-level products, Intellectsoft excels in every complex product design with an innovative approach.
Their refined design process and seamless cross-platform utility accelerate revenue-generating web and mobile applications—no doubt.
7. Zazz
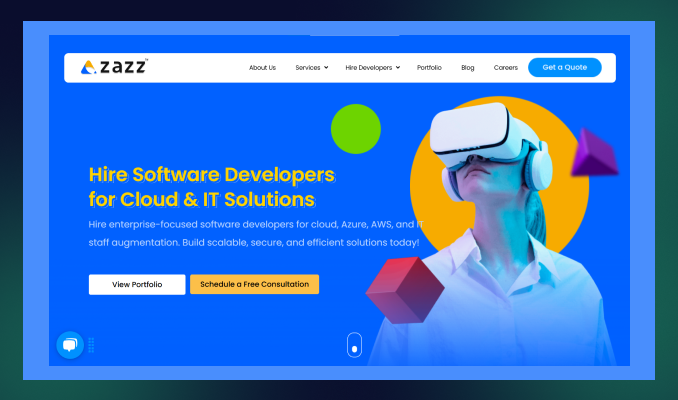
Location: Texas, USA
Key services: UI/UX development, information architecture, branding, and web development.
Zaaz is a leading UI/UX design service specializing in creating digital experiences within human psychology, user persona, and data-driven expertise.
Their high-fidelity prototype, cross-platform UX design, and brand-specific app solution reflect the dedication of the team Zaaz!
Within 14 years of experience, Zaaz earned an award-winning UI/UX design agency that released 763+ mobile apps successfully.
8. Designli

Location: Greenville, South Carolina
Key services: UX/UI design, mobile app development, cross-platform development.
The last UI/UX design services company on our list is Designli. This agency embraces new challenges by understanding development frustrations and providing the best possible solutions.
Designli has a full-time, dedicated product team and follows agile methodologies to bring transparent communication and faster delivery—which most agencies lack.
Designli specializes in in-depth user research, creating wireframes, responsive user experience design, and custom solutions to create a strong brand identity.
How to Find the Best UI/UX Design Service in the USA
See reviews and case studies
Check their expertise and experience within real customer reviews.
Identify how this service for designing user experiences solves the potential challenges and needs of the business.
Assess their portfolio
Track their previous projects and portfolios to investigate their design's visual appeal and usability.
Look for industry specialization
Industry expertise: The more crucial fact is before selecting the right design agency.
Partner with a UI/UX design agency with expertise in your industry-specific niche.
See their process and technical expertise
Check if they follow agile methodologies and robust design processes.
Do they conduct user research, prototyping, wireframing, UX audits, and user testability? Additionally, look for post-launch support and testing services.
Compare pricing and values.
Do not get caught in the trap of mouthwatering offers that may have hidden costs. Always go for a consultation first and then get a price transparency before handing over the project.
Why Choose ideapeel as the Best UI/UX Design Services & Consulting in the USA?
With thousands of options available, why should you choose ideapeel? Here's what sets us apart:
Proven records of completing 70+ projects
At ideapeel, we have helped over 70 business owners launch their products with the best user experience design and measurable, ROI-driven solutions.
Expertise across 15+ industries
We've worked with clients in diverse industries, including tech, SaaS, real estate, and 10+ more.
Our industry expertise solution helps us create the best UI/UX design that resonates with targeted audiences and maximizes engagement.
Custom UI/UX design services
Our dedicated team first schedules a free design consultation to understand your business goals and objectives.
Then, we provide a custom strategic approach that aligns with your brand identity and budget.
Robust design process and methodologies
We follow agile methodologies, a user-centric approach, and data-driven insights to ensure a seamless design process.
From user research to wireframing, prototyping, and user testability, our design team ensures that every step is optimized for performance and user satisfaction.
Technical proficiency
In the design process, we use industry-leading tools like Figma, Adobe XD, and Sketch, which are combined with front-end technologies.
Communication and Collaboration
We prioritize transparent communication and real-time feedback to eliminate any delay and frustration.
Therefore, we utilize tools like Asana, Trello, and Jira to streamline project management. So you can have real-time data on what's going on!
Comprehensive service offering
Besides UI/UX design services, ideapeel provides a wide range of services, including web development, SaaS development, branding, and SEO.
So, you don't need to hire multiple freelancers or build an in-house team—we provide end-to-end solutions to elevate your brand's digital experience. We're here as your dedicated digital partner every step of the way!
Partner with ideapeel and Get a Seamless UI/UX Design
Want a digital experience that drives actual results?
Your online presence should do more than exist—it should attract, engage, and convert. At ideapeel, we design high-impact UI/UX experiences that fuel business growth.
Let's build something extraordinary together.
Frequently Asked Question
1. What is UI/UX consulting?
UI/UX consulting services provide a strategic roadmap to improve the existing product user experience or deliver high recommendations for new product launches. They conduct in-depth user research, identify users' pain points, and perform usability testing for the present user experience.
2. How much do UI UX design services cost?
Depending on project size, complexity, expertise, and location, the cost of UI Ux design services is different. It may cost $5,000 to $50,000 in the US.
3. Which company is best for UI/UX designer?
5 Best UI UX design services companies are listed below within their unique approach:
1. ideapeel: Custom UI/UX design service & consulting
2. Frog design: AI-driven UX design services
3. ideo: human-centred ui/ux services
4. Cleveroad: Responsive product design and development
5. Think Company: World-class design for complex enterprise businesses.
Starting a brand is easy, but building a strong brand identity requires expertise—something a professional brand design agency can't be overlooked for.
The right branding agency creates a polished, memorable brand design with a compelling visual story that stays fresh and competitive. But how do you choose the right agency that delivers results and drives conversions?
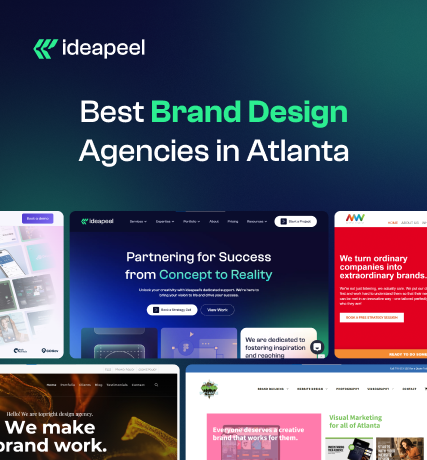
To simplify your search, we list the 11 best branding agencies near Atlanta, USA, that can help grow your business locally and globally. Explore them now and find the perfect fit for your brand's success!
List of 11 Best Brand Design Agencies in Atlanta, USA
1. ideapeel
Location: Atlanta, GA
Service line: 100%
Key services: Logo Design, visual brand identity design, Packaging Design, web design, Brand message,
Notable clients: Gymstory, AlphaWave, CarWise.
ideapeel is an ultimate partner for Atlanta, USA-based branding solutions.
Unlike traditional branding services, ideapeel provides local and international businesses with end-to-end branding solutions.
From small to medium-sized businesses, we have a proven track record of building strong brand identities that resonate with target audiences and create lasting impressions.
We deliver tailored branding solutions for diverse industries, including SaaS, Tech, Real Estate, E-commerce, and more, by leveraging in-depth research on industry trends, market insights, and competitive analysis.
Our expert graphic designers and visual brand specialists ensure creative design, responsive communication and real-time feedback, making the branding process seamless.
About 70+ brands have trusted us to transform their identity. Our clients have seen an average revenue increase of 120% after working with us.
Want a brand that's not just visually appealing but also drives revenue?
Don't look further and lose your valuable time!
Just get a FREE 15-minute consultation and a personalized quote today!
2. Matchstic
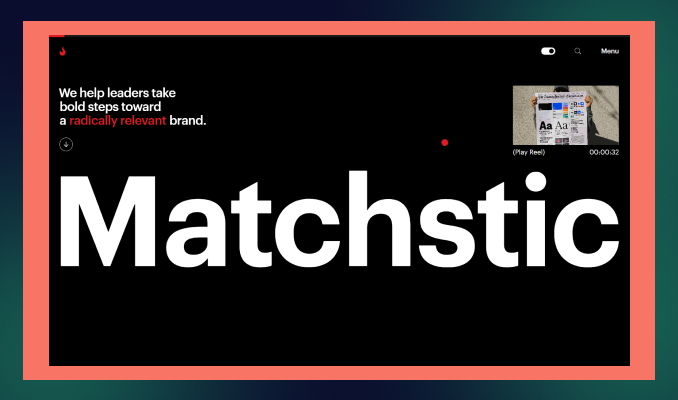
Location: Atlanta, GA
Service line: 80%
Key services: Brand Architecture, Brand Strategy, Visual Identity, Brand Messaging
Notable clients: The Atlanta Journal-Constitution, Rain Bird, Mailchimp
Matchstic is a leading design and branding agency in Atlanta and has served for 20+ years, helping growing brands to become radically relevant.
They are passionate about empowering nonprofit brands to reach globally while staying powerful. Matchstic has a fully remote team spanning 13 states to maintain collaboration, responsiveness and flexible branding projects.
Matchstic really shines by delivering harmony between brand identity and users' actions.
Their wide range of services reflects how the whole team thrilled clients with understanding their unique marketing opportunities, smart plan strategy and delivering terrific outputs.
3. Nueway Studios

Location: Atlanta, Georgia
Service line: 55%
Key services: Brand Development, Graphic Design, Content Marketing
Industries served: Small to mid-sized businesses, Government, Nonprofit, and Corporations.
Notable clients: KeenLogic, Discoverlife, The Barcliff Group.
Nueway Studios is a one-stop branding and design agency that grows your Atlanta business through branding, storytelling and impactful campaigns.
Their custom strategic approach to the brand, combined with GPS data and OTT, and their CTV ad campaign maximizes reach locally and globally 49% faster than competitors.
Whether you want to create or revive an identity, Nueway will excel in managing brand solutions, implementing psychology, market trends, and industry expertise.
4. Media Frenzy Global
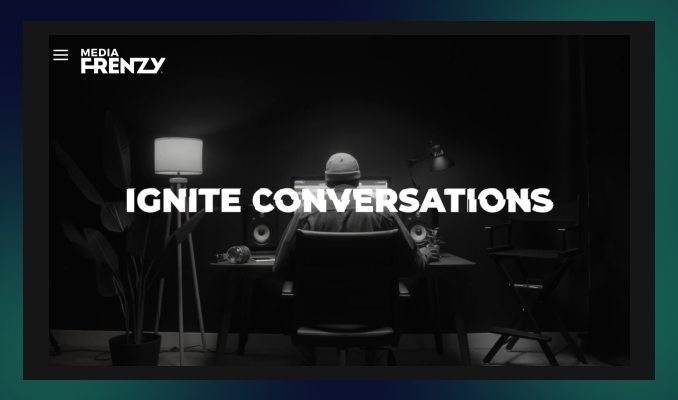
Location: Atlanta, GA
Service line: 30%
Key services: Brand Strategy, Brand Visualization, Brand narrative.
Notable clients: Stridyn, REV.IO, Rising Roll.
Media Frenzy is a brand strategy design agency that blends brand marketing more than building a brand identity.
We find it unique that they are scaling a brand with a powerful branding campaign, lead generation and analyst relations.
If you want to accelerate your Atlanta business through data-driven and AI strategies and keep earning through ROI, you can partner with the Frenzy team!
5. Spring Studio
Location: Atlanta, GA
Service line: 20%
Key services: Graphic Design, Brand Design, Logo Design, Website Graphics, Social media Graphics.
Notable clients: Twine, Slack, Viral Launch
Spring Studio is the ultimate brand & design agency, helping entrepreneurs to lead in the digital landscape while building a strong brand identity.
Their main motto is to deliver fast and reliable design– all branding designs your business needs to grow faster.
From logo to web design, they are committed to bringing a complete branding solution to what a startup is searching for!
Spring Studio has worked in various industries, such as e-commerce, startup, tech, and real estate.
Their project management tactics, real-time feedback, and affordable branding solutions are why you should go with Spring Studio.
6. Soar Media
Location: Atlanta, GA
Service line: 30%
Key services: Brand Development and Rebranding, Logo Design, Brand Style Guides, and Packaging Design.
Notable clients: Abstrax, Ganek PC, Infamous USA.
Another Atlanta-based branding and packaging design agency is in your next! Soar Media provides a brand narrative with a transparent approach that resonates with target audiences.
Soar Media is a full-service marketing and advertising agency that creates a brand identity with data-driven digital solutions. So, you don't need to look behind to invest in another service.
While boosting the business's online presence is their concern, Soar Media takes challenges in creating a strong brand identity within a tight budget and schedule.
7. STOUT Creative
Location: Atlanta, GA
Service line: 50%
Key services: Branding, Content Marketing, Email Marketing.
Notable clients: Peco Food, Solar CrowdSource, History Associate.
STOUT Creative is an Atlanta-based digital marketing agency for top regional and national brands.
This creative agency specializes in branding positioning services that help brands forefront the industry through agile marketing methodologies and automation tools.
If you are looking for a B2B branding agency for your business with tight budgets and demanding deadlines, STOUT is a good option to partner with!
8. Top Right

Location: Atlanta, GA
Service line: 60%
Key services: Brand Strategy, Brand Storytelling, Brand Campaign
Notable clients: Alcoa, Microsoft, Delta Airlines
Seeking for more than a static brand design to elevate a dynamic experience? Top right is here the best brand experience design agency to hire!
Unlike traditional branding companies, Top Right's ambition is to leverage transformative growth within the right brand consultancy, brand strategies and storytelling.
With its complete branding efforts, Top Right also serves customer experience, employee experience, and monitoring services to transform your brand into a masterpiece.
9. Sky Castle Production

Location: Atlanta, GA
Service line: 30%
Key services: Logo Design, Brand building, Graphic Design, Website design
Notable clients: Home Depot, Georgia Institute of Technology, Illuminations Inc.
Sky Castle Production can be the game changer for your Atlanta business.
They have 13+ years of experience in web and brand design and a deep understanding of the local market and its dynamics.
Sky Castle works hard to simplify brand identity through creative graphics, logos, and typography. Also, they implement stunning visual and strategic marketing through video and photography for brand channels.
From small to medium-sized businesses, they serve all potential leaders, entrepreneurs, and startups and have an impactful brand that drives results.
10. The Rare Form
Location: Atlanta, GA
Service line: 30%
Key services: Brand identity, logo design, Package design.
Notable clients: True Botanicals, Jack Black, EVOLVh hair care.
You have a fresh and strong brand ready to launch within 2 weeks! That's not my words! The Rare Form is committed to enhancing brand recognition with a compelling brand design service.
So, what differentiates them from other agencies?
The Rare Form focuses more on brand-building strategies, from understanding the mission, personas, trends, and cultures to giving you the maximum output for a comprehensive brand identity aligned with branding goals.
They specialize in brand identity, rebranding, packaging, logos, style guides, and product design.
11. The 95 Agency

Location: Atlanta, Georgia
Service line: 40%
Key services: Graphic design, Packaging Design, Product Design.
Notable clients: Heaven Treasure, Cascade Skating, Broner Boss.
The 95 Agency is a recognised brand and marketing agency in Georgia that successfully launched 350+ brands in 2015.
95 agency is a great partner for brand development, digital marketing, content creation, and high-impact brand activations.
They take every branding project as a challenge to make it far better than the previous– their creativity exceeds expectations.
Get the Best Local brand identity expert in Atlanta, Georgia
Selecting a branding agency near you is crucial for a seamless experience—free from time zone differences or communication gaps.
With so many options, are you tired of searching "Branding services near me?"
Stop wasting time searching—your competitors get a head start every day you delay.
ideapeel provides top-tier branding solutions that set you up for the long-term success of your brand in today's competitive market.
Frequently Asked Questions:
What does a brand design agency do?
Brand design agency excel in building brand identity through visual design: graphics, storytelling and strategic planning. Branding agencies offer a ready-to-launch brand that ensures a compelling presence in the market.
How much does it cost to hire a branding agency?
It may vary depending on the branding agency's expertise, project framework, and the service they offer. On average, you may have to invest $100-$200 per hour to hire an expert brand agency.
Are branding agencies worth it?
Branding agencies help create a consistent brand that resonates with your audience and drives long-term growth. Investing in one can significantly enhance your business's success.
We prioritize quality and dedicate full focus to achieve the best outcomes for our clients.

Let's hop on a free call
Our team is committed to understanding your unique needs and delivering solutions that exceed expectations.
